WordPress 5 min de lectura 161 views 09 May 2026

Complaints Book for Peru

Product overview

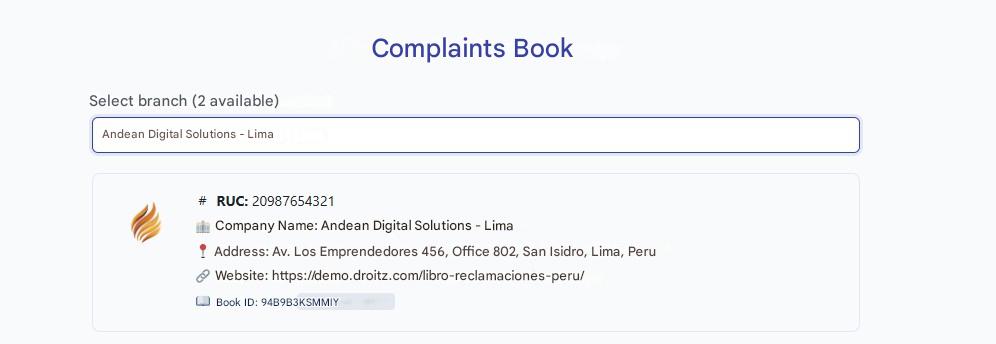
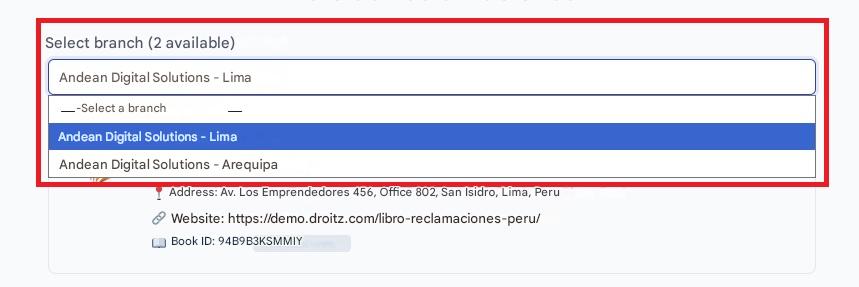
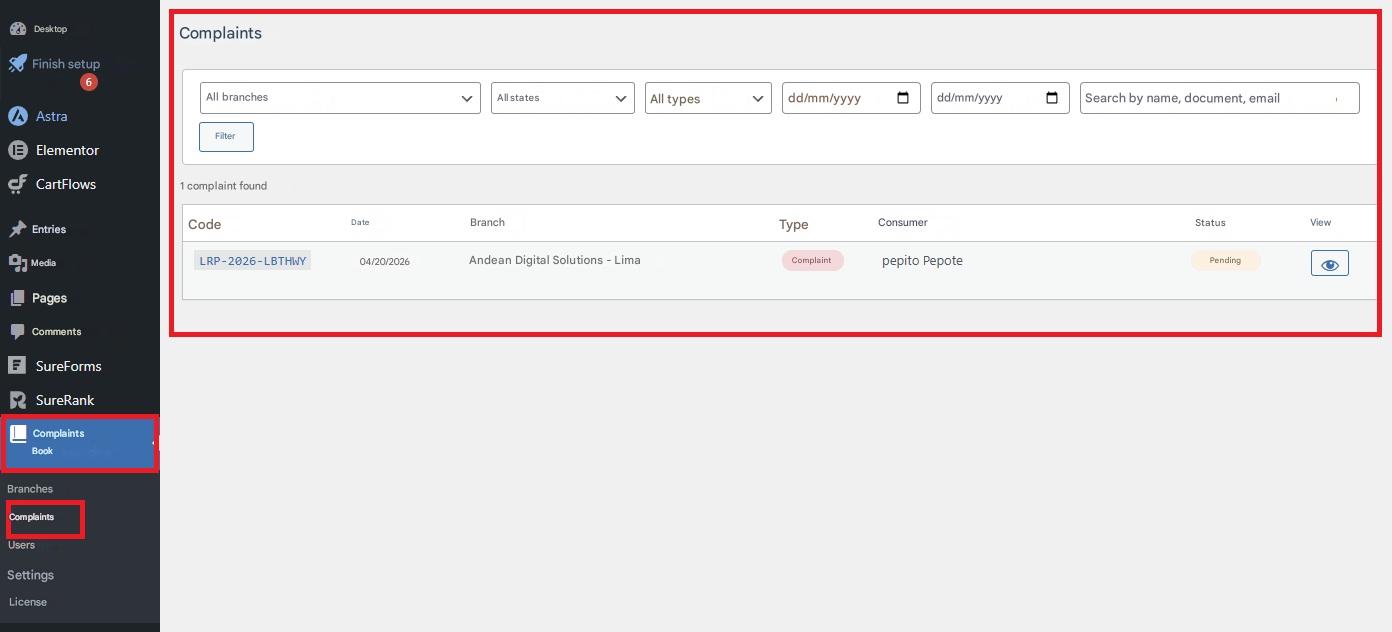
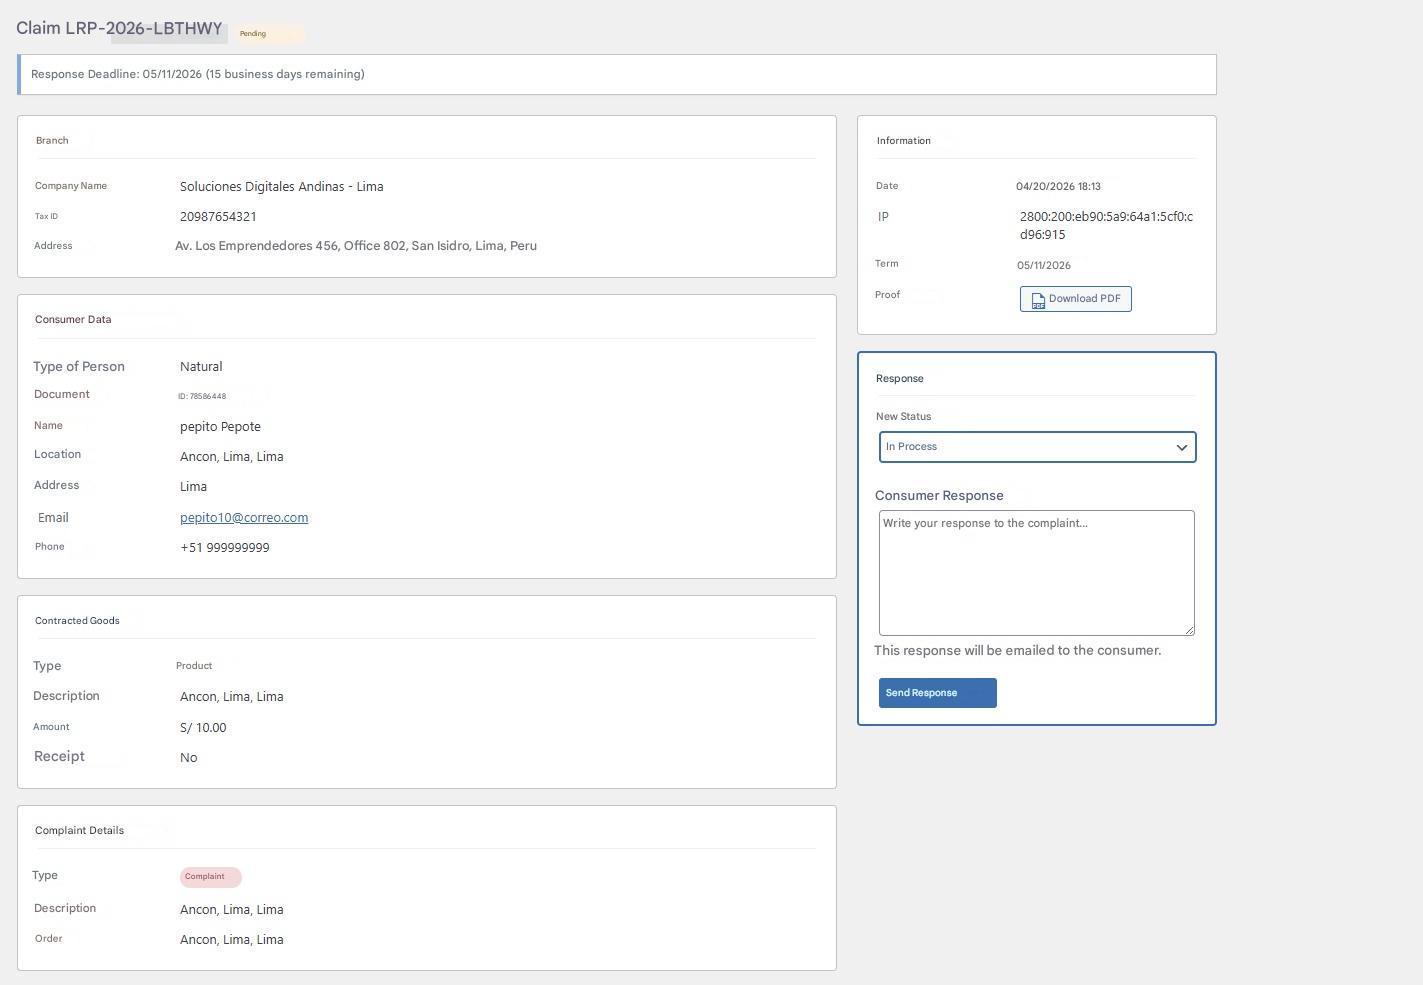
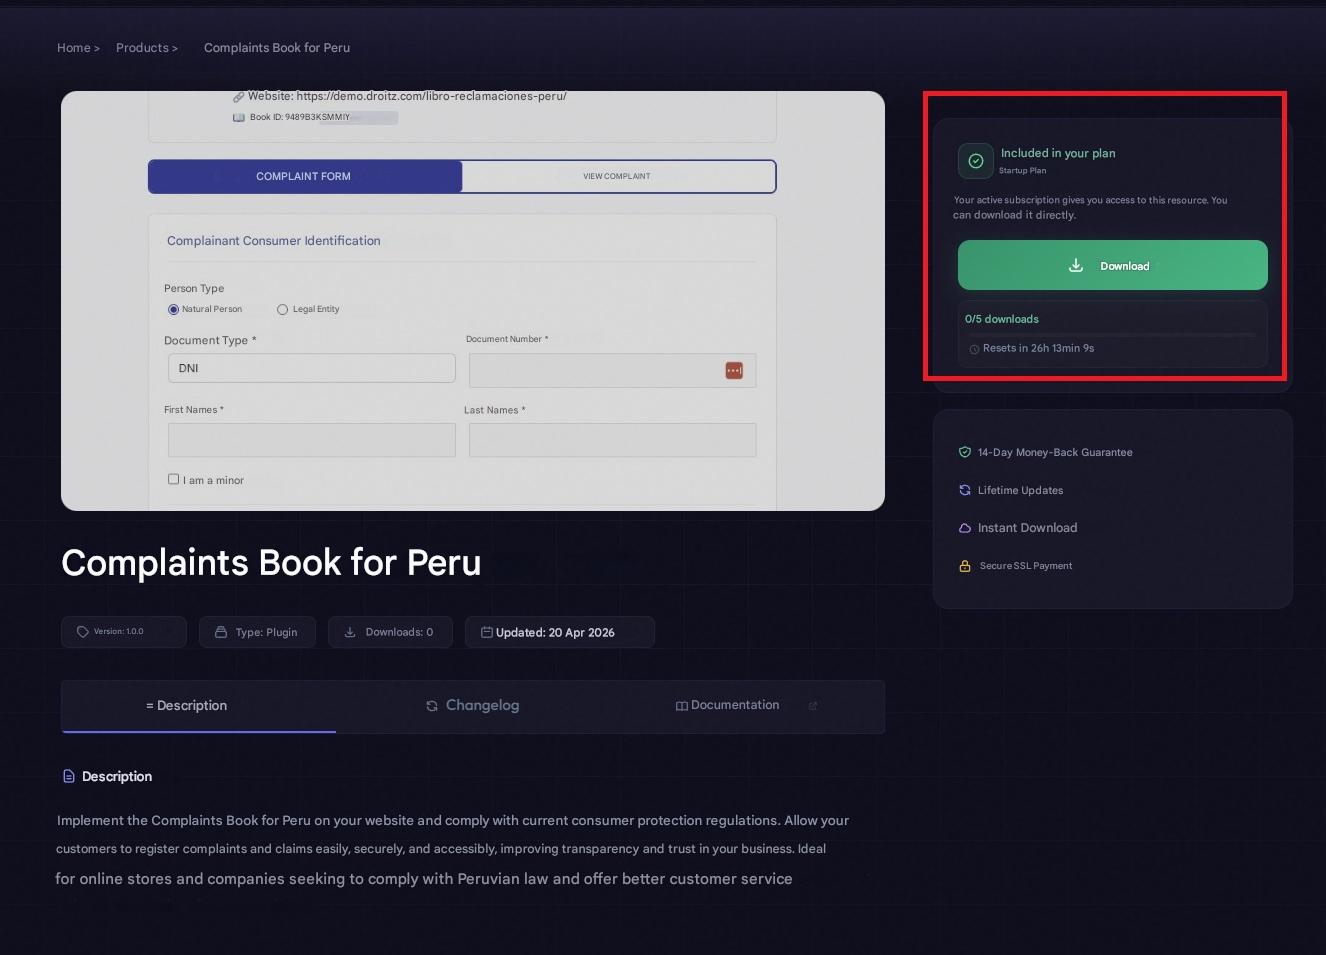
Implement the Complaints Book for Peru on your website and comply with current consumer protection regulations. Allow your customers to easily, securely, and accessibly register complaints and claims, improving transparency and trust in your business. Ideal for online stores and companies seeking to comply with Peruvian law and offer better customer service.
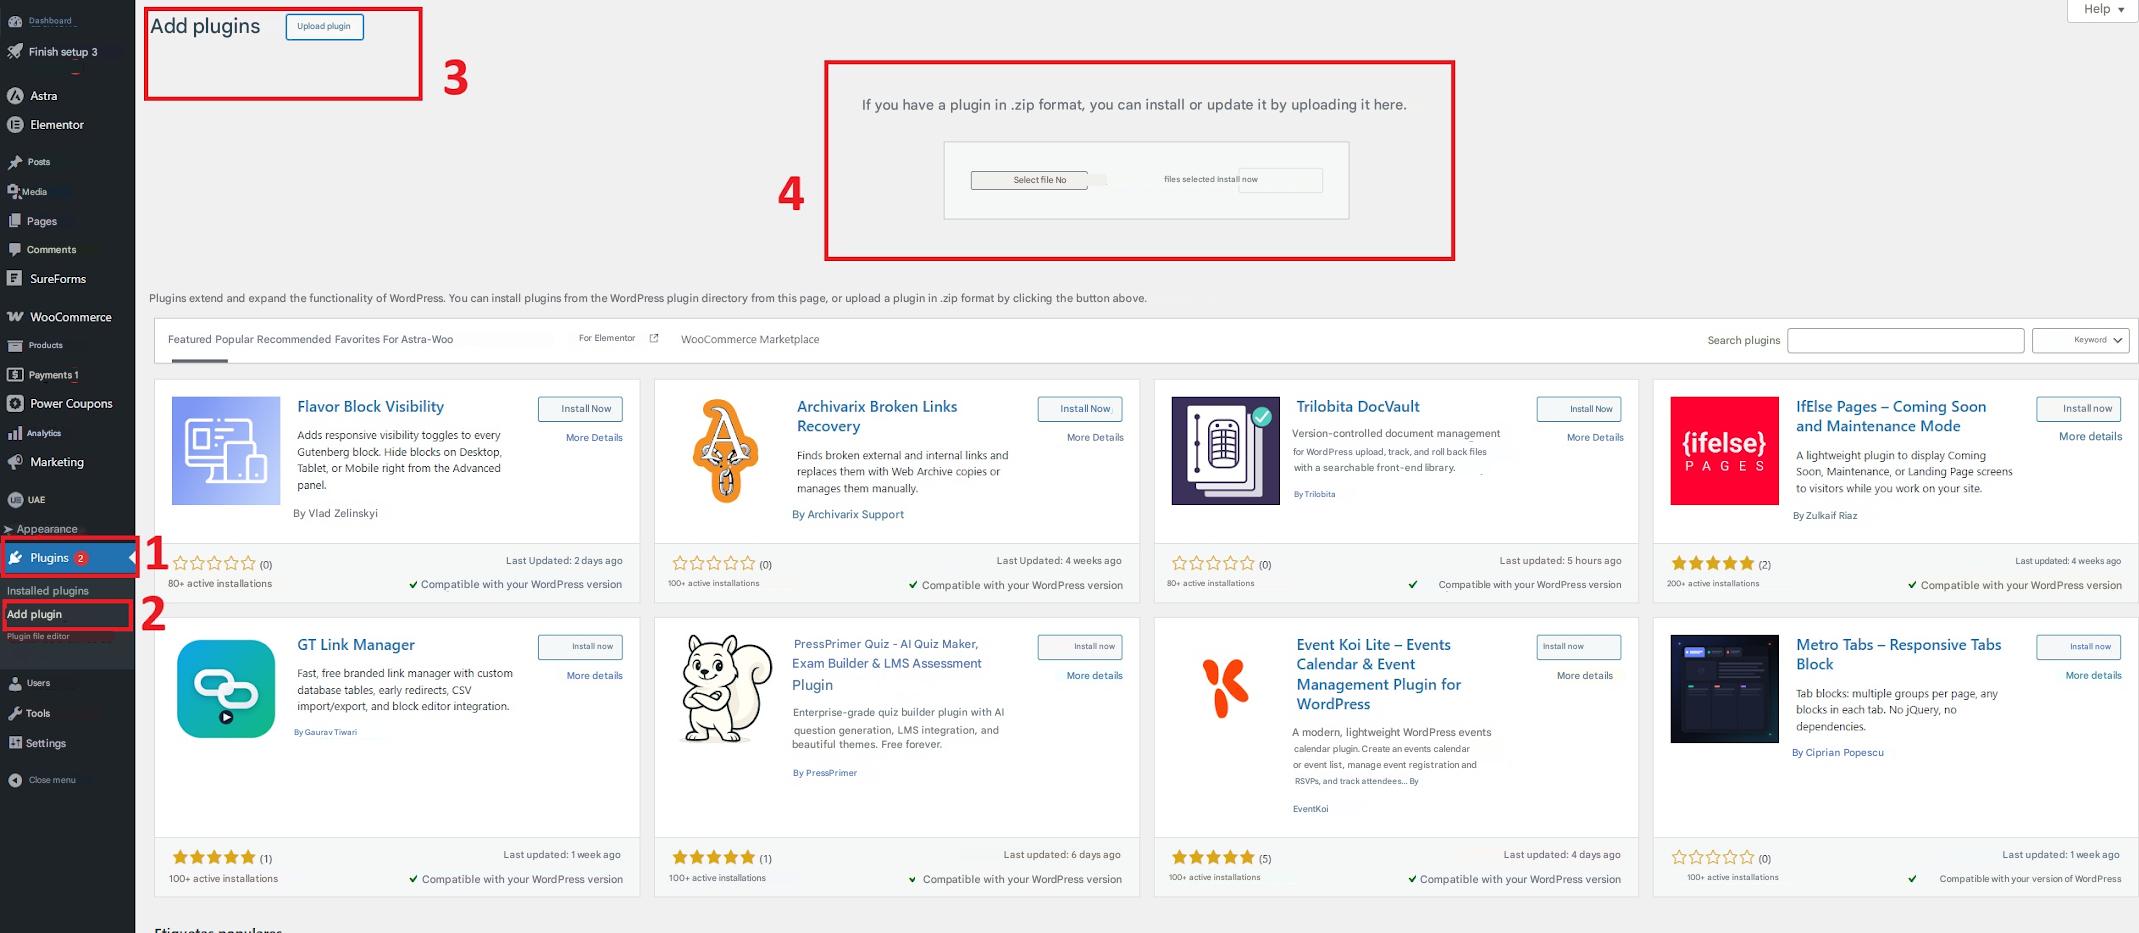
Installation

  1. Download the plugin file in .zip format after purchasing the license.
  2. In your WordPress dashboard, go to  Plugins → Add New → Upload Plugin .
  3. Select the .zip file and click  Install now .
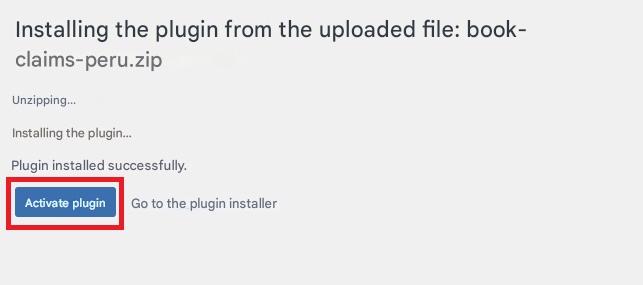
  4. Once installed, click on  Activate plugin .
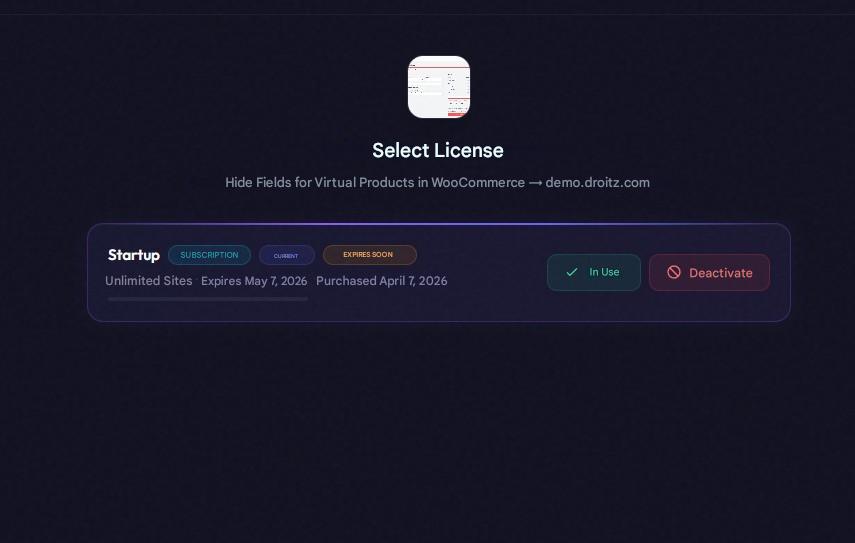
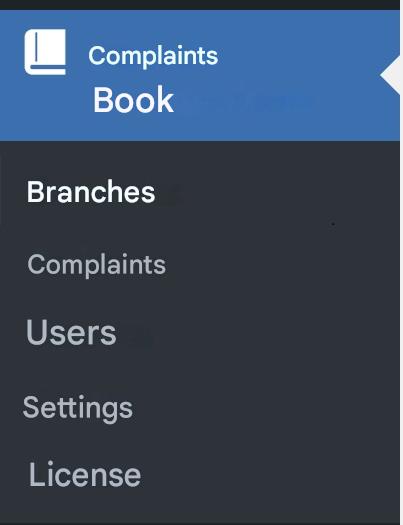
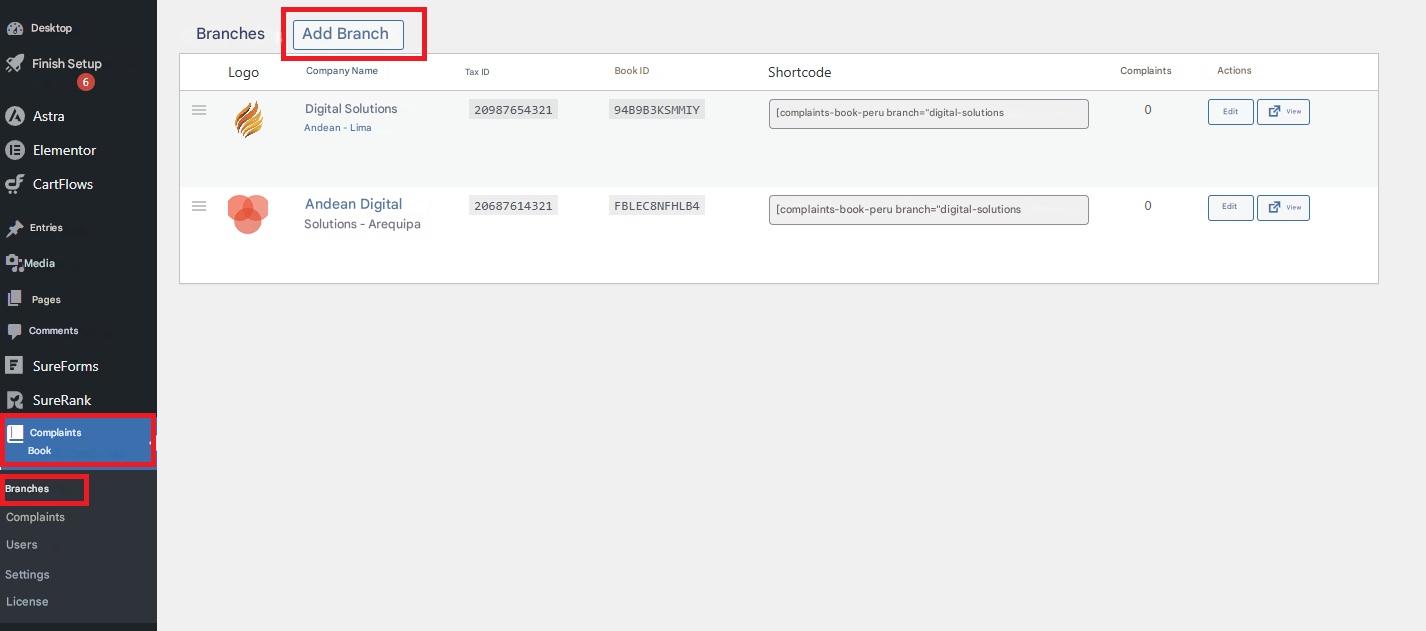
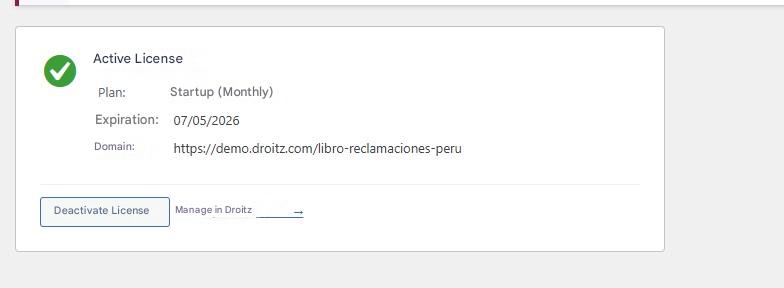
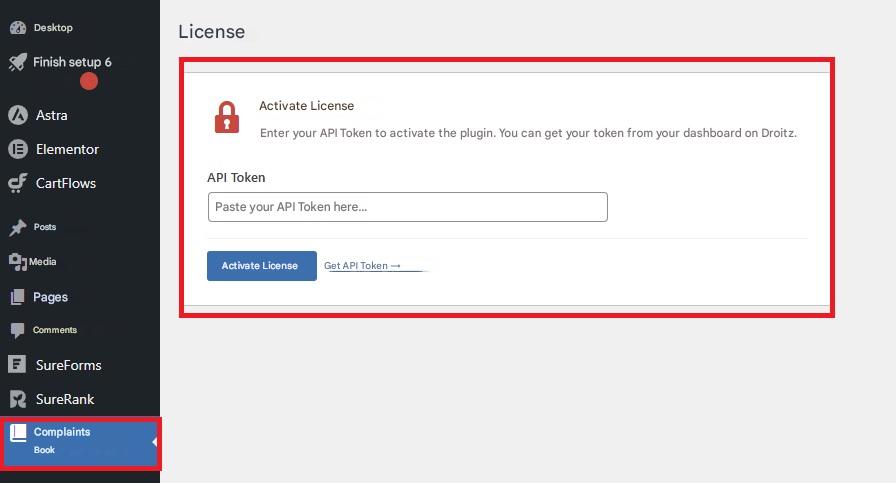
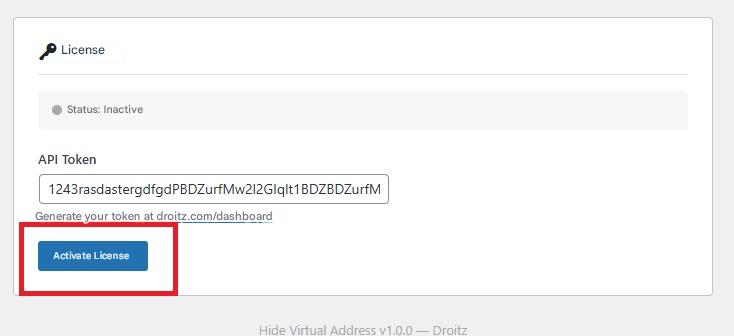
License activation

  1. Go to the  Complaints Book  in your WordPress dashboard.
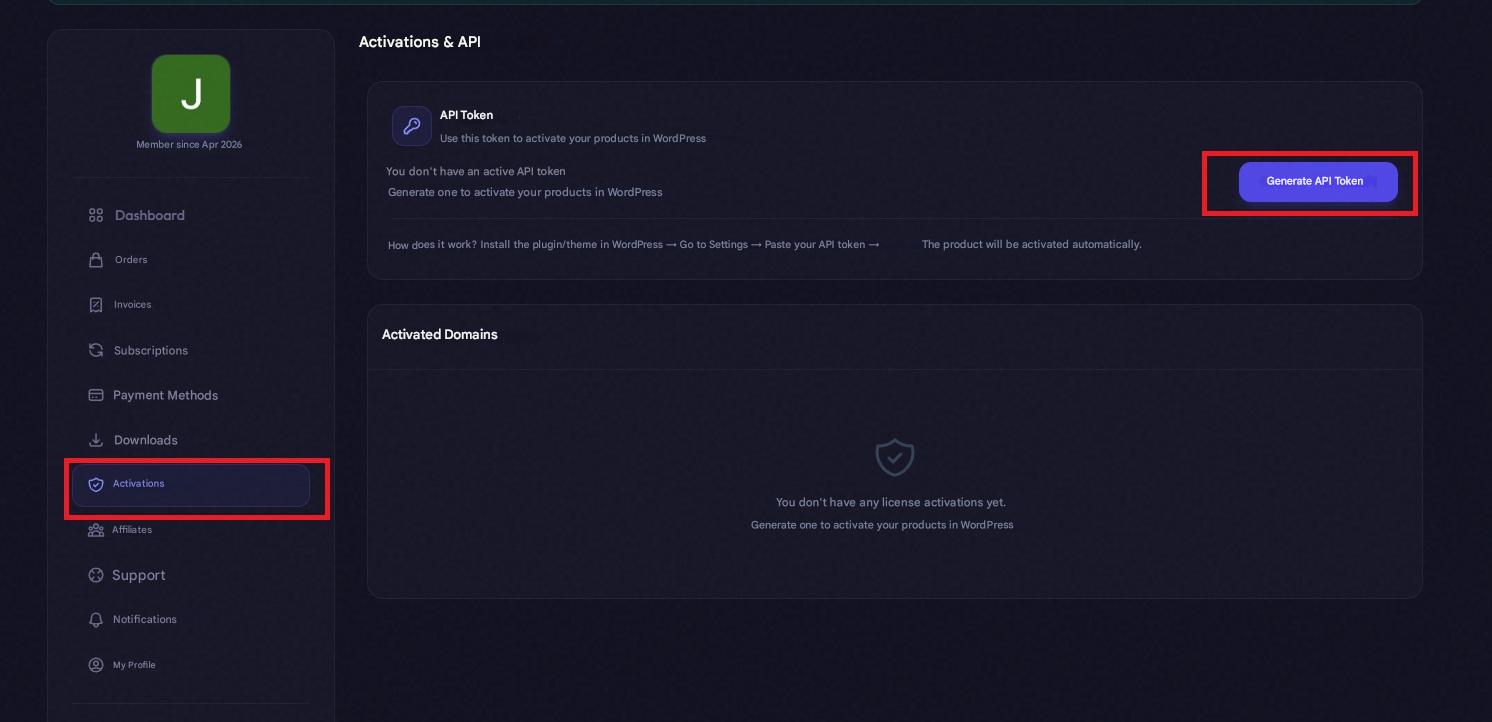
  2. Access your user panel at:  droitz.com/dashboard .
  3. Go to the  Activations section  and generate your  API Token .
  4. Copy the token and paste it into the corresponding field within WordPress.
  5. Click on  Activate .
  6. Select the purchased license to complete the process.

How to use the plugin?

Upon accessing the Complaints Book option , you will find the following sections: Branches, Complaints, Users, Settings, and License . Below, we will explain the purpose of each of these options and then display the form that users must complete to register a complaint. 

Branches

If your company has multiple branches, whether the main branch or branches in different locations, you can create a separate Complaints Book section for each one. To do this, go to Complaints Book > Branches and click Add branch .

Note: The shortcode shown in the image is mainly used to embed that branch's complaints book anywhere on your WordPress site.
 
By entering this section we will find different options:
    • Logo: Here you can upload the branch's logo. A size of 200x200 px is recommended for better display.
    • RUC: Enter the 11 digits of the RUC of the business or company.
    • Company name: Legal name of the company or branch.
    • Address: Physical address of the branch.
    • Website: Link to the company's website.
    • Book ID: Unique identifier of the Complaints Book within the system. It is automatically generated if the option is selected.
    • Slug (URL): This is the final part of the link that will allow access to the Complaints Book. If you choose to generate it automatically, it will be created using the company name.
Once all fields are completed, click Create branch to save and generate the information. You can register multiple branches if your business has more than one.This is how the information will look once that section is filled out:
If you have more than one branch, these will be displayed in a list so the user can select the one they want.
Note: Once you have filled in the information and configured the plugin, you can access the Complaints Book from your website by adding /complaints-book to the end of the URL (for example: www.mywebsite.com/complaints-book ). How this section is displayed on your site (for example, as a page or visible link) will depend on your WordPress settings.

Complaints

In this section, you'll find all user-generated complaints, as well as options to help you locate them more easily. The information displayed in the box includes:
    • Code: Allows you to check the status of the claim on the page.
    • Date: Day the claim was made.
    • Branch: Branch where the claim was filed.
    • Type: Indicates whether it is a claim or a complaint.
    • Consumer: Name of the person who made the complaint.
    • Status: Shows whether the claim or complaint is pending, in process, resolved, or closed.
    • View: Allows access to the complete details of the claim or complaint, review the registered information and manage its attention to provide a solution to the user.
By entering a claim and clicking on “See All”, all the information registered by the user will be displayed. You will also have the option to download the corresponding receipt, write a response, and change the status of the claim. Finally, click on “Send reply” to complete the process.

Users

This section displays the data of all users who have registered a claim.

Settings

In this section we will configure the plugin; among the available options are:

General: The main point to configure is "Form Page" ; there you should place the "Complaints Book" field. The other sections can be adjusted according to need or preference.

Form: Here you configure the text that will appear in the green box of the Complaints Book form. You can also enable users to upload files, define the maximum number of files, and the allowed size for each file.
Notifications: Here you configure the administrator's email address. You can add multiple email addresses separated by commas; all system notifications will be sent to these addresses, leave the others as they are.

Anti-spam: This is a security method that displays a captcha before the user submits the form. To activate it, the keys generated from the following pages must be entered:

License

There's not much to explain here; the license you purchased appears, as well as the option to deactivate and manage it.

¿Te fue útil este artículo?