Product overview
A plugin that adds a required checkbox to the checkout page so that users must accept the Privacy Policy before completing their purchase, ensuring consent and basic compliance with data protection regulations.
Installation
Before you begin, make sure you have WooCommerce installed and active , as this plugin works within its environment.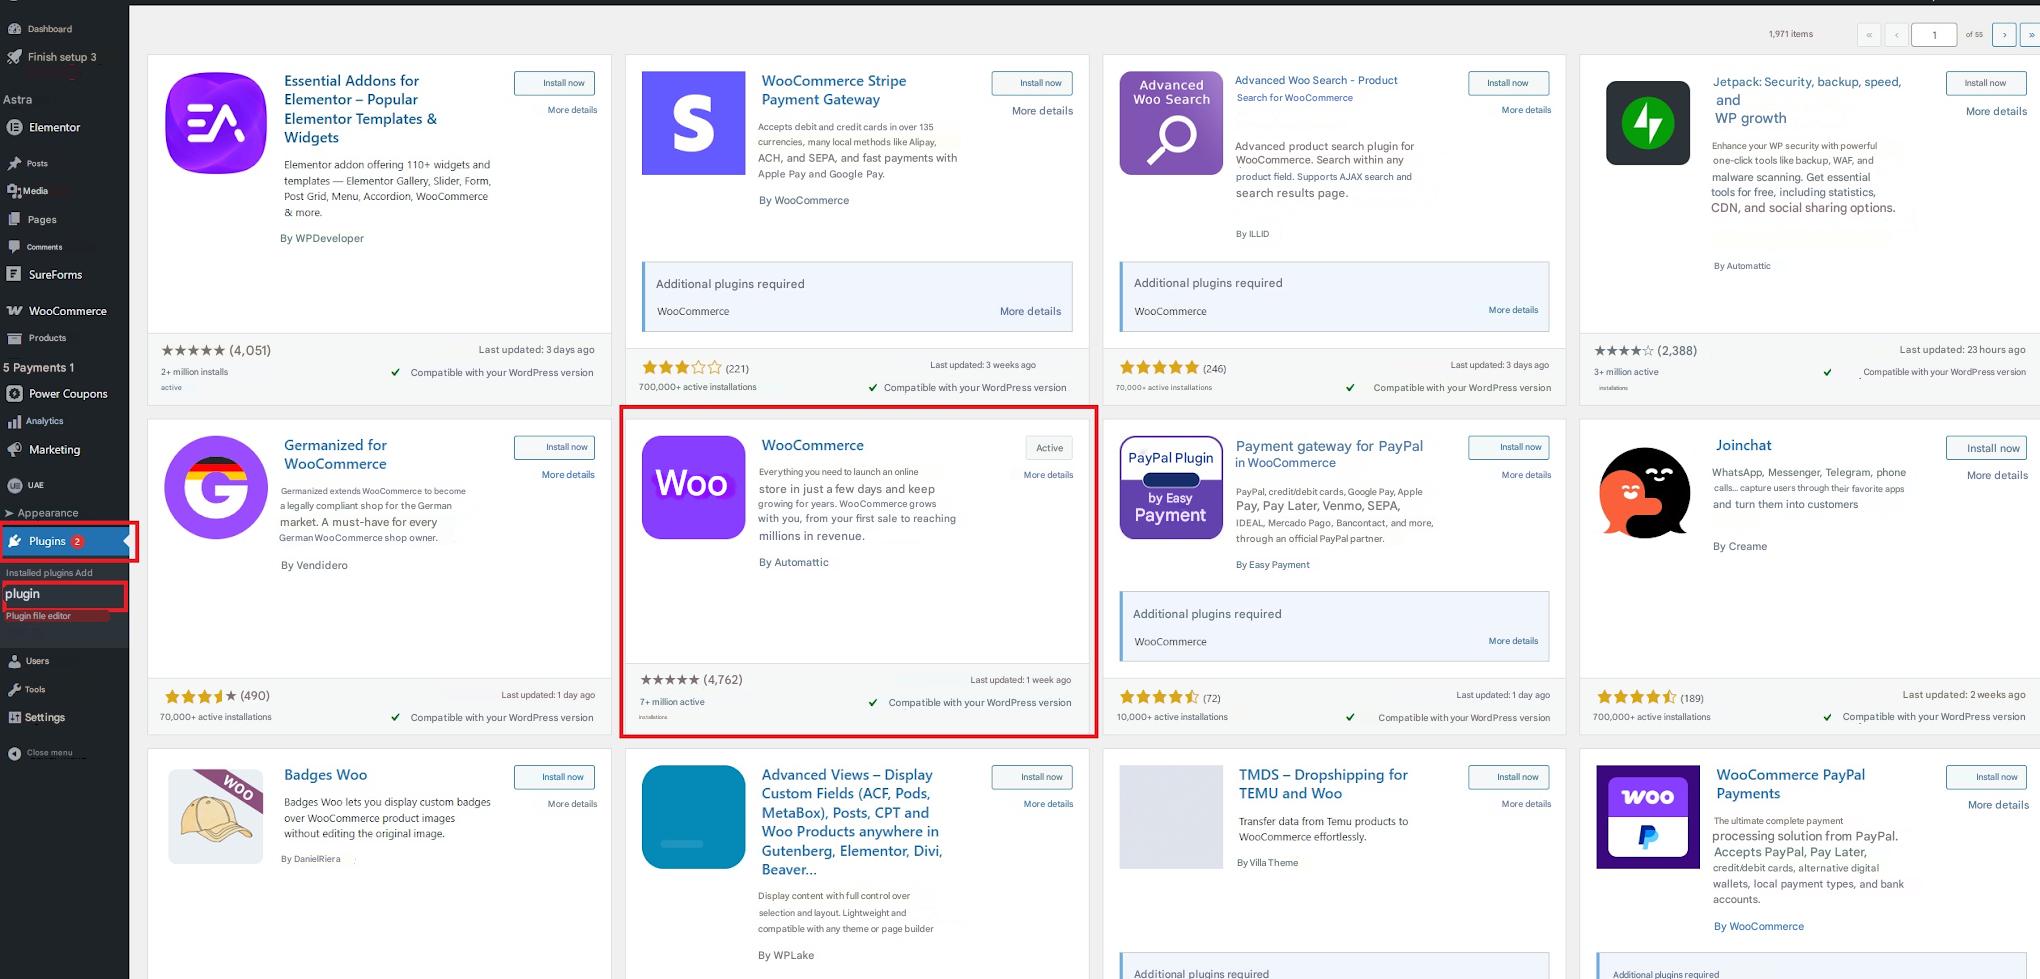
- Download the plugin file in .zip format after purchasing the license.
- In your WordPress dashboard, go to Plugins → Add New → Upload Plugin .
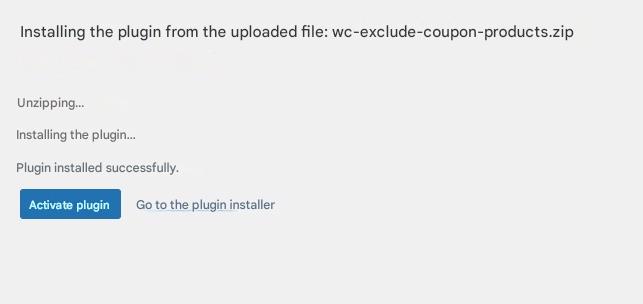
- Select the .zip file and click Install now .
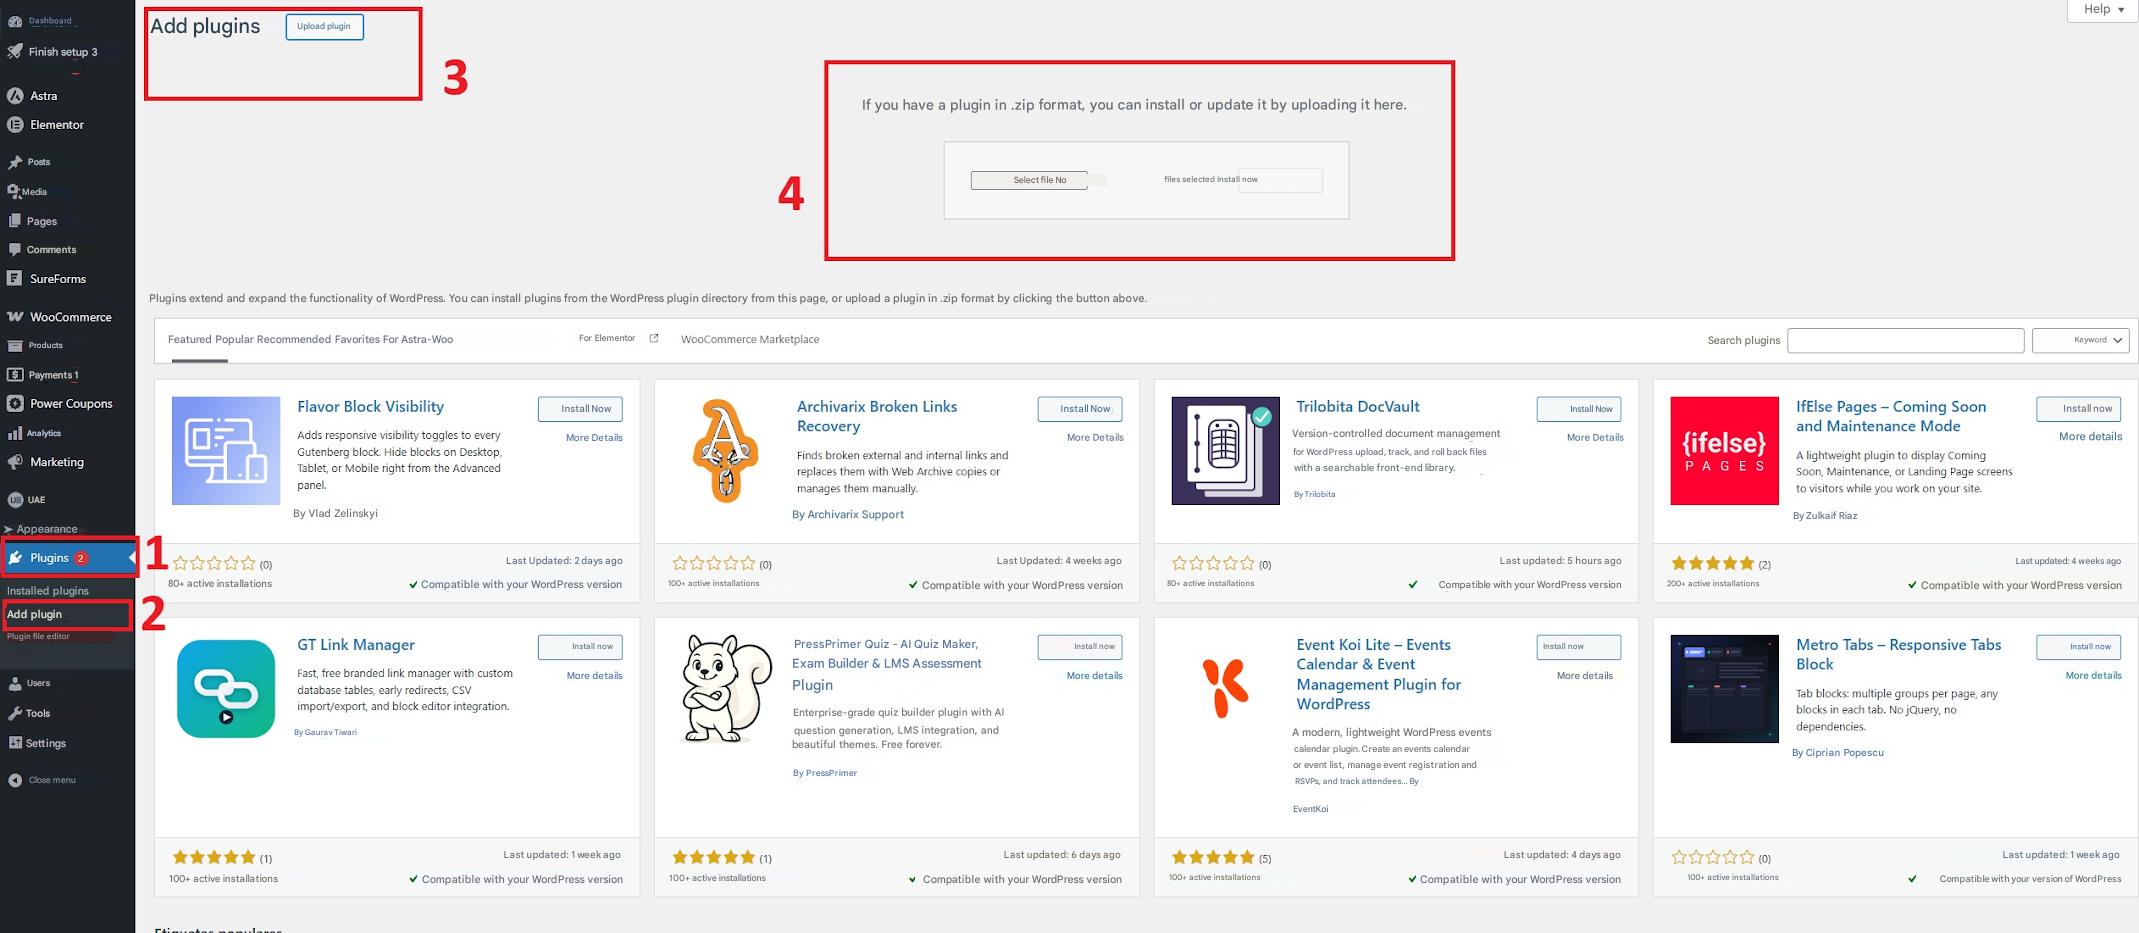
- Once installed, click on Activate plugin .
License activation
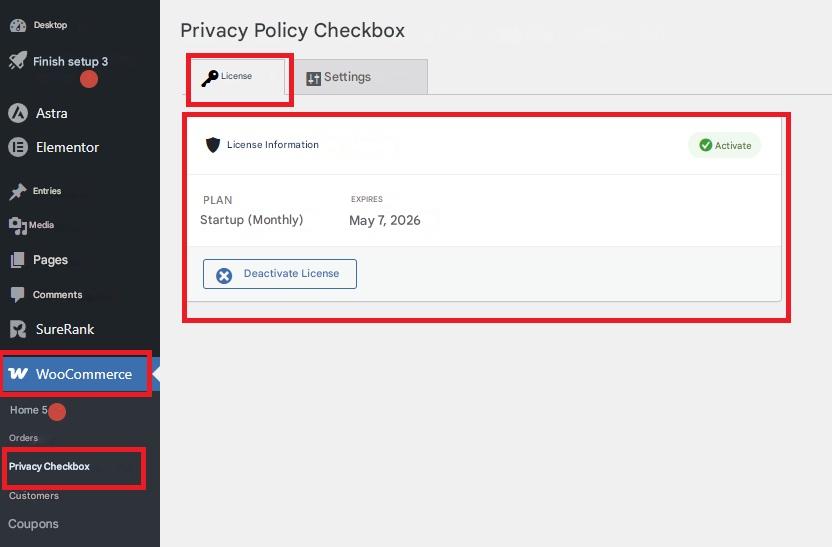
- Go to WooCommerce → Privacy Policy in your WordPress dashboard.

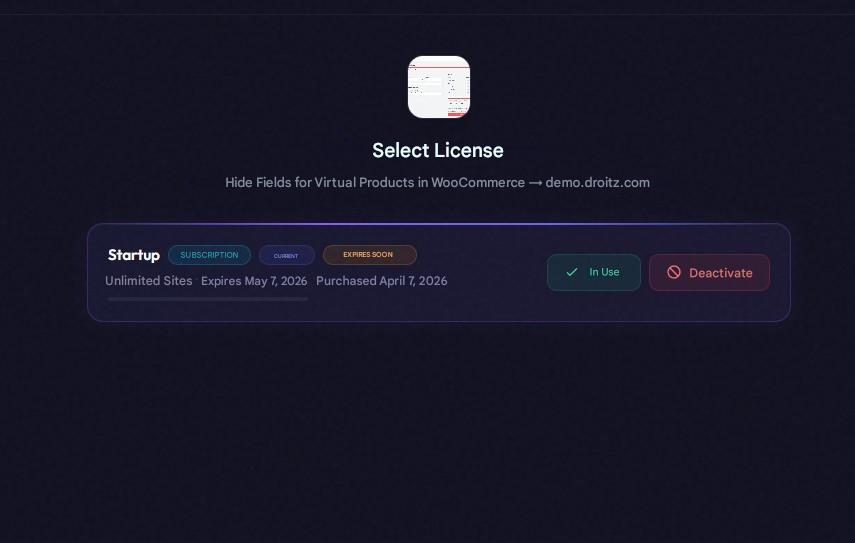
- Access your user panel at: droitz.com/dashboard .
- Go to the Activations section and generate your API Token .

- Copy the token and paste it into the corresponding field within WordPress.
- Click on Activate .
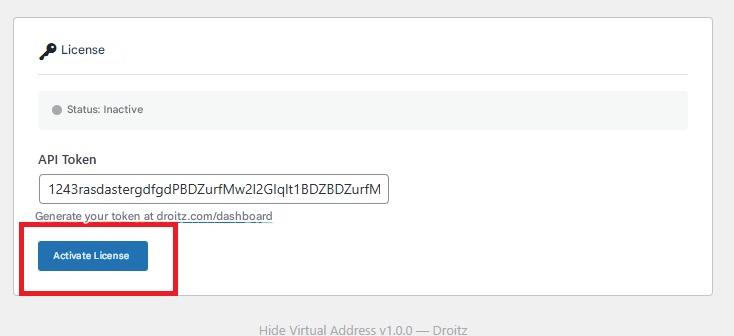
- Select the purchased license to complete the process.
How to use the plugin?
License
Configuration
Here you can modify the plugin; to do this, we will learn what each of these options is for:
Error message: Displays a message indicating to the user that they must check the privacy box; this text is editable.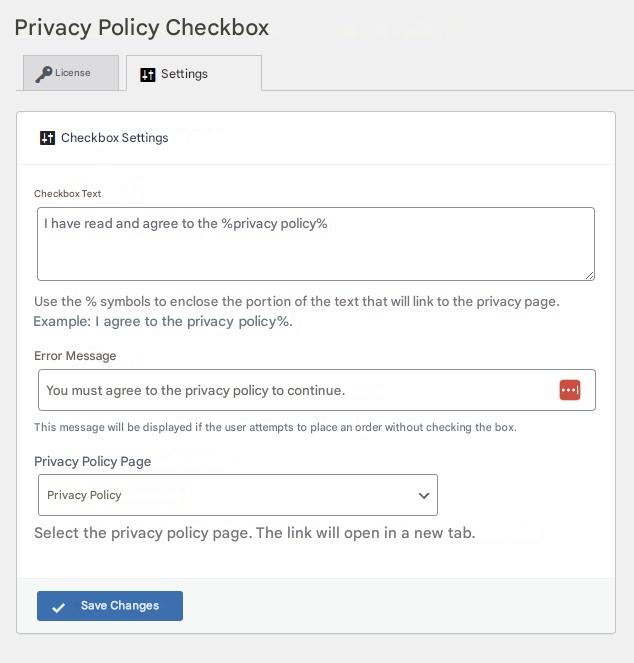
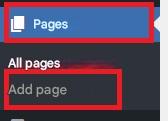
- First we need to create the page by going to Pages → Add page.
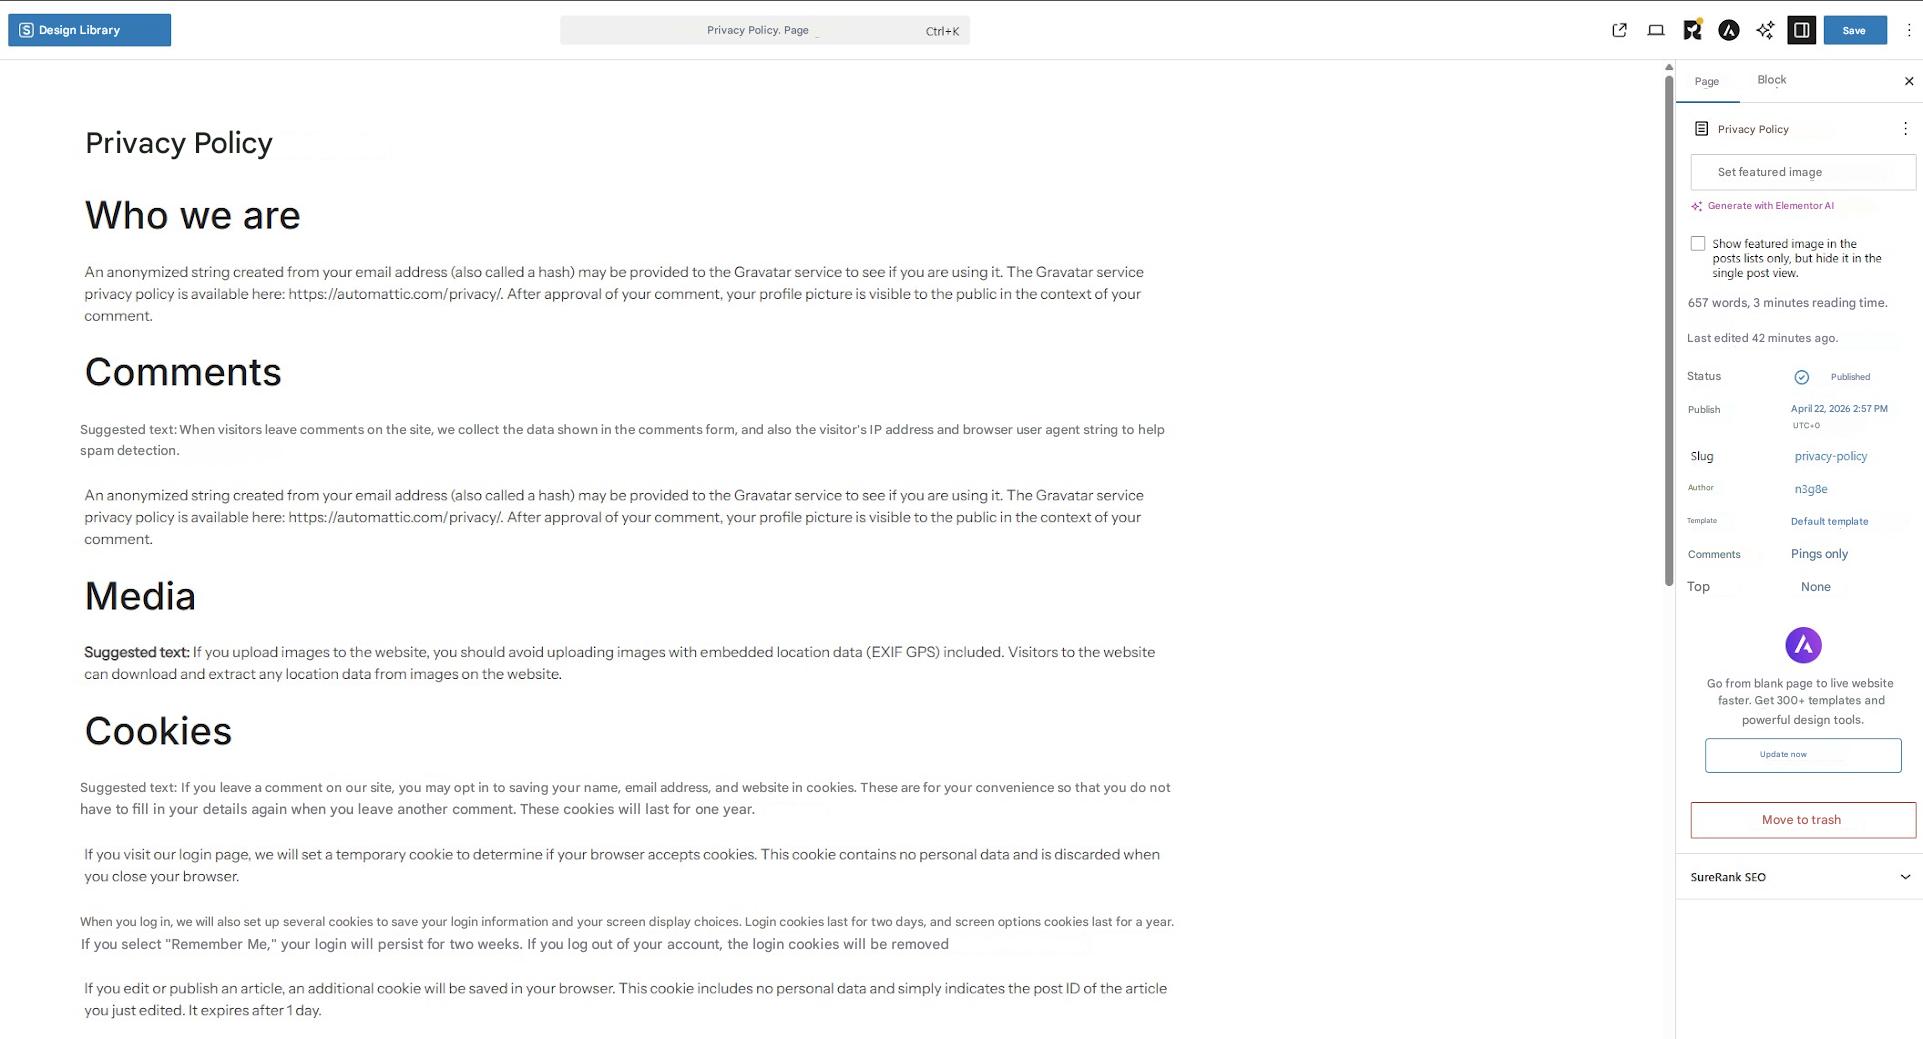
- Once we log in, we will have to create the entire text of the privacy policy; this text varies according to what each person considers appropriate.
- Then we save and publish the page.
- Once the page is ready, go back to WooCommerce → Privacy box → Settings. Then, under “Privacy policy page”, select “Privacy policy” (the page you created earlier). If you haven't created it, it won't appear in the list. Finally, save the changes.

